


Ok, hexie addicts, here's a tutorial just for you! Do you have any super cute prints that you'd like to appear centered and straight in your final quilt? Thanks to some recent swaps, I've acquired some amazing Japanese prints that are begging to be featured in my hexie quilt, and I want to make sure to do it right.
Please forgive me if this technique has been obvious to anyone else. I figured it out this week and couldn't wait to share. After making 700 or so, I'm really getting the hang of it! lol Nevermind that I was also excited to figure something out that could make for a good tutorial, so out came the camera phone and the step-by-step...
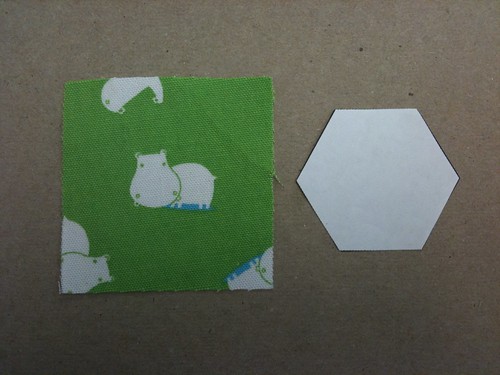
First, start off with your fabric square and paper hexie. This happy little hippo is perfect for this.
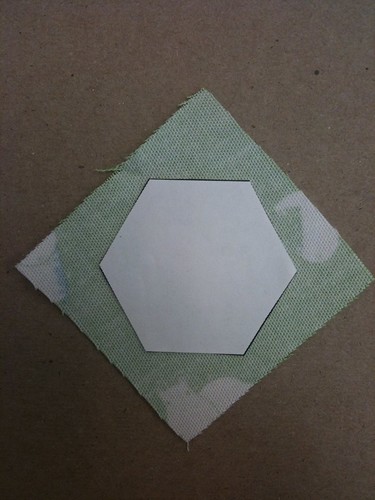
Normally, I center the paper hexie with one of the straight sides facing the corner of the fabric.

Unfortunately, this only works with a random print. What you'll end up with is a crooked hippo. This does not make hippo happy.
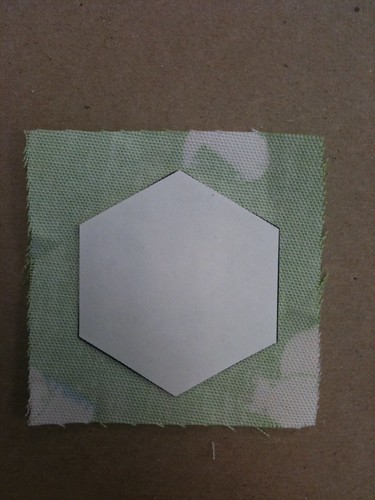
So here's what I figured out. You want to place your paper hexie over the image, with the point of your paper facing down.
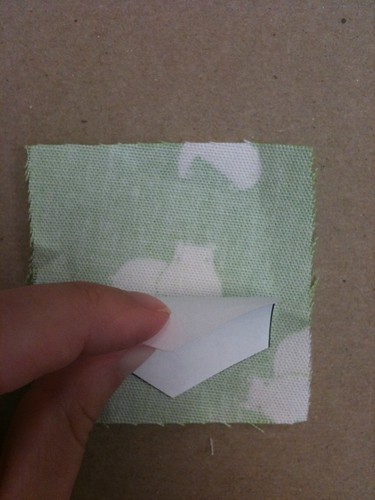
I like to lift up the top point to make sure that the image is centered between the two straight sides, on left and right. Also check to make sure it's not too far up or down between the top and bottom points.

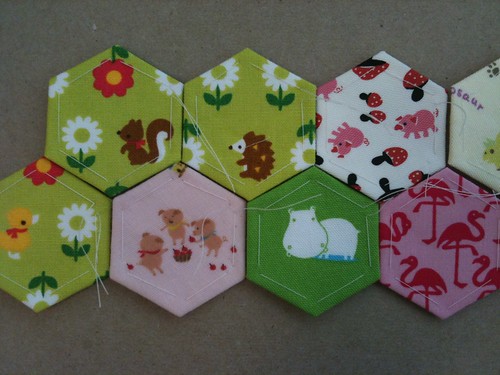
And there you have it! A well-centered hexie, ready to join his friends.

There he is, happy to be around all his other well-placed friends. I think this ends up making for a very nice detail that will add something special to a very detailed and special hexagon charm quilt.
I hope you find this tutorial helpful and it enhances your hexies as it has mine. How are your hexies coming along?


Great tute for hexies fussy cut, and your pics were great. I was just here checking out your blog after you entered for the GO giveaway on my blog. http://sewfunquilts-sewmeow.blogspot.com
ReplyDeleteGood Luck
Judy
mmmmh! checking it again, but do not see that you are following me??
ReplyDeletetoo bad..might have to disqualify you.
Thanks for this brilliant tutorial, you are a very good teacher and your photos are excellent. You have some truly gorgeous prints - it is going to be an awesome quilt.
ReplyDeleteWhatever you are up to today, may it be happy and fruitful :0)
Val xx Oxfordshire UK