Shop Projects About Contact
Showing posts with label quilting. Show all posts

Friday

Double Wedding Ring Quilt

Double Wedding Ring Quilt
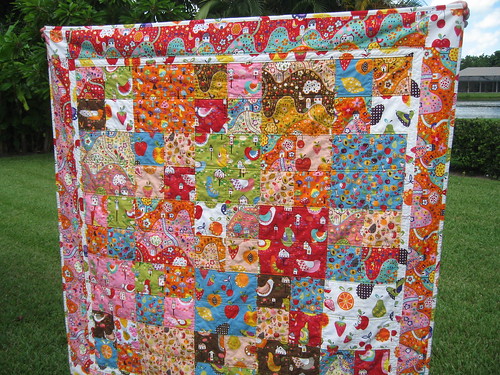
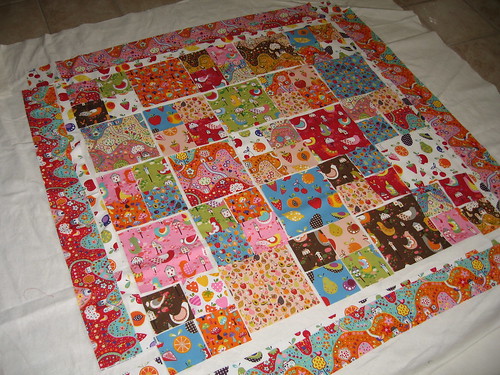
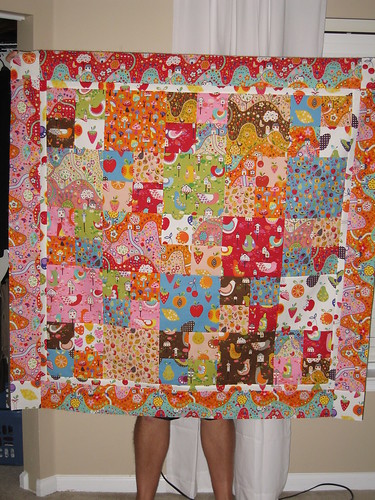
I'm so pleased to finally be sharing this quilt with you! 
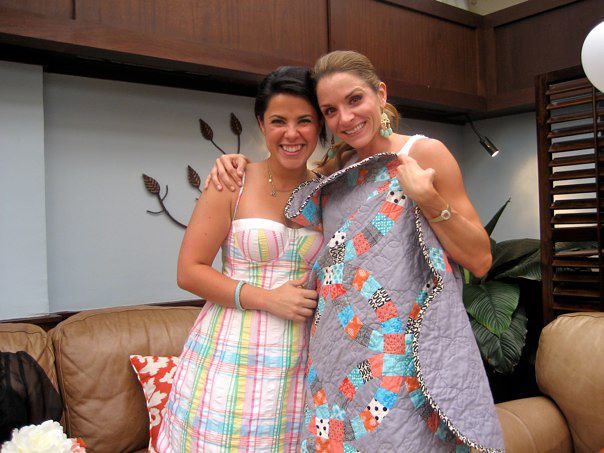
I made it as a wedding gift for my very best friend, Jill. It was inspired by a vintage 1930's double wedding ring quilt that I bought at a local antiques show. I showed off my purchase to her and she actually recognized the pattern! Her being a complete non-sewer, non-crafter, that came as quite a shock to me. Then a couple of months later she got engaged! Of course, being the sentimental fool I am, I decided I had to make her her very own double wedding ring to commemorate this huge moment in her life. 

Double Wedding Ring Quilt
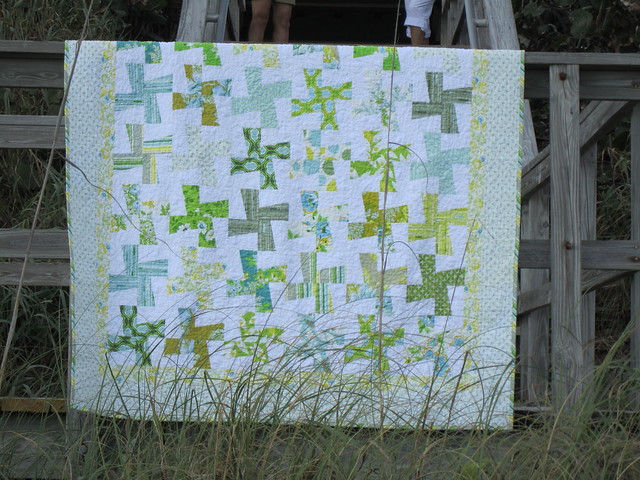
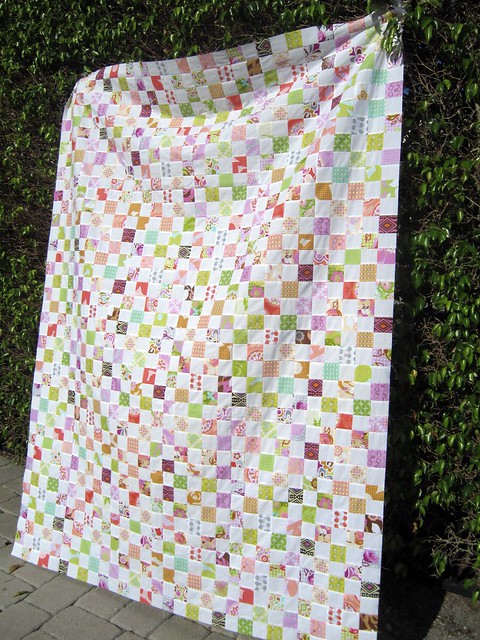
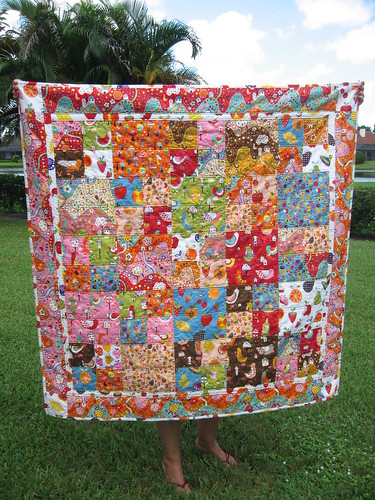
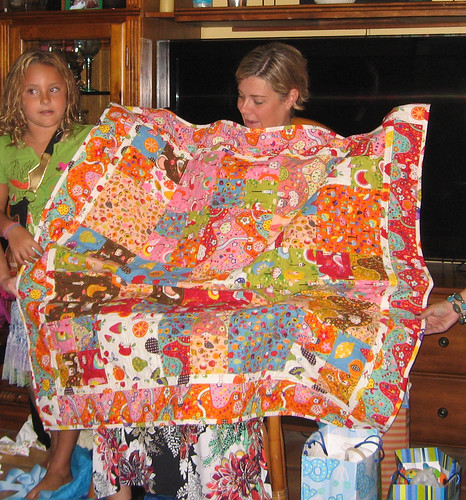
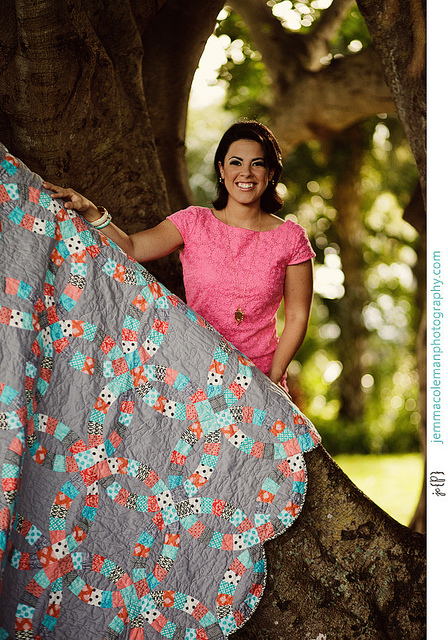
(wanna know a secret? My friend Jill is crouched back there holding the quilt so it won't fall)

Double Wedding Ring Quilt
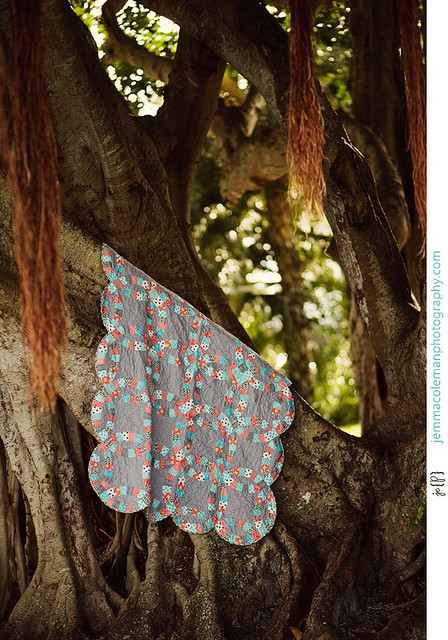
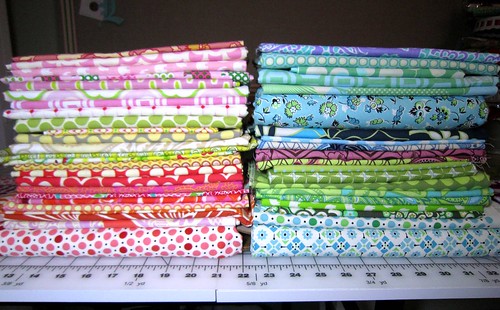
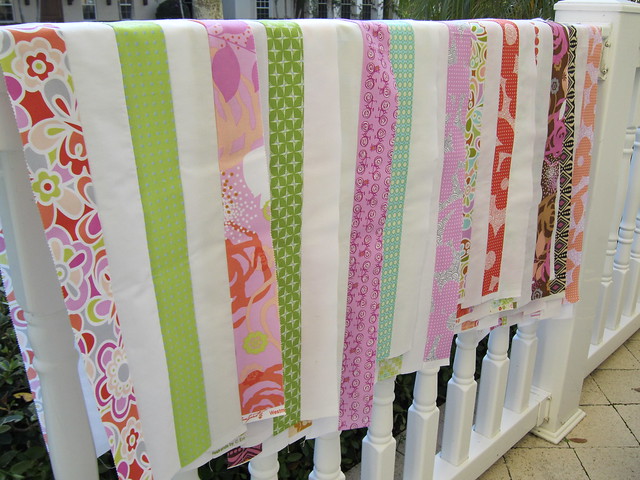
Now, if you know Jill, you know she has very particular taste; impeccable taste of the utmost high and edgy style, but particular, nonetheless. So I set about my design not knowing exactly where it would take me. After weeks of stalking fabric sites while also helping her plan the wedding, it hit me! Use her wedding colors! She had coral and black, with theoretical hints of turquoise, and the grey was a stray from my usual white, but went perfectly with her edgier taste.

Double Wedding Ring Quilt
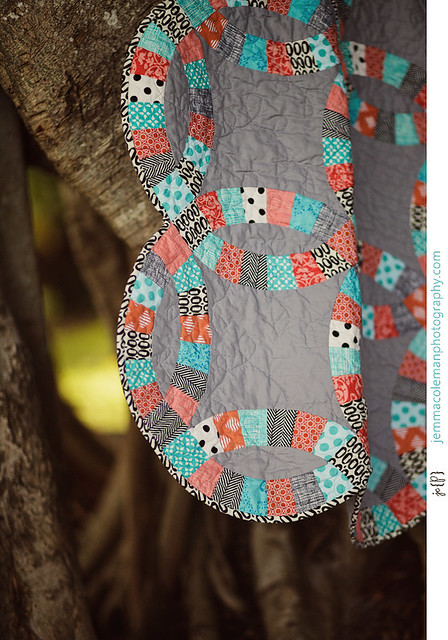
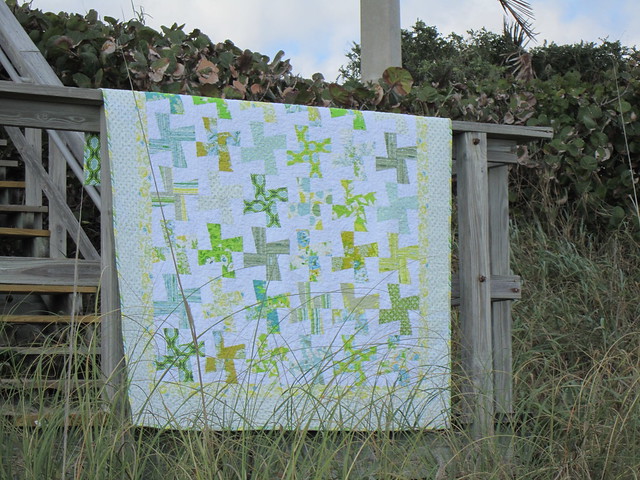
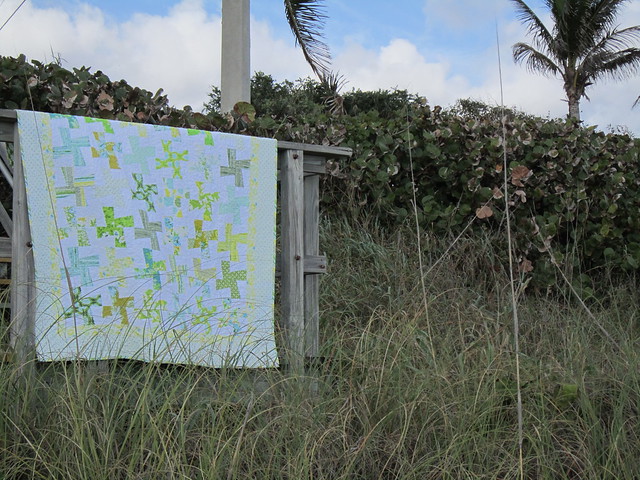
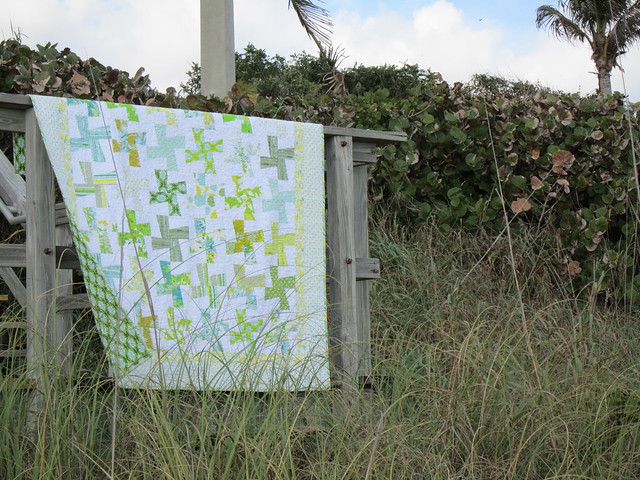
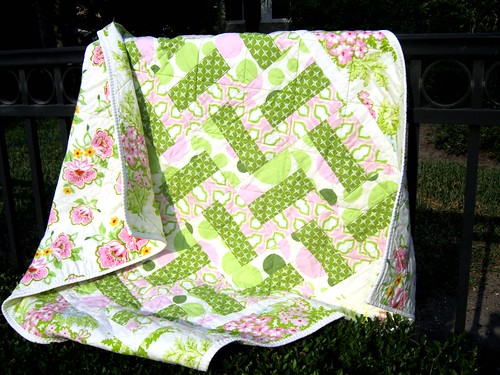
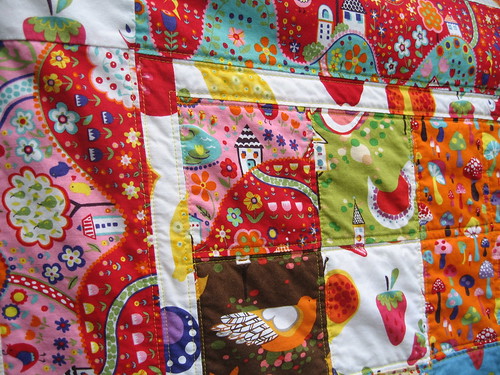
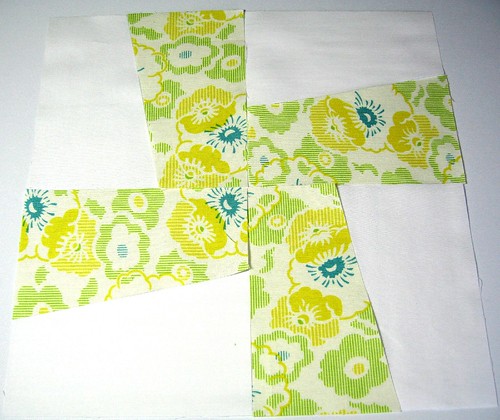
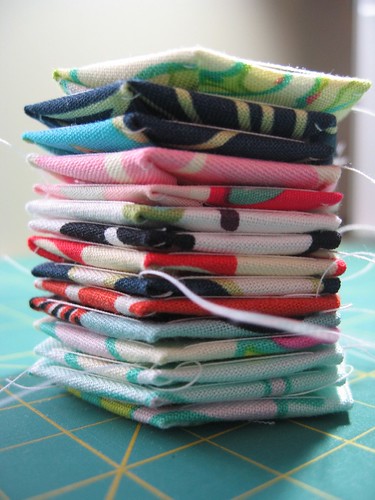
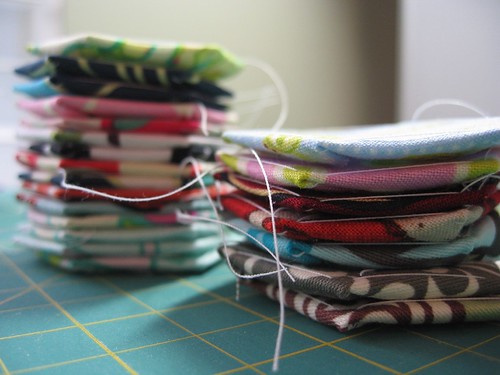
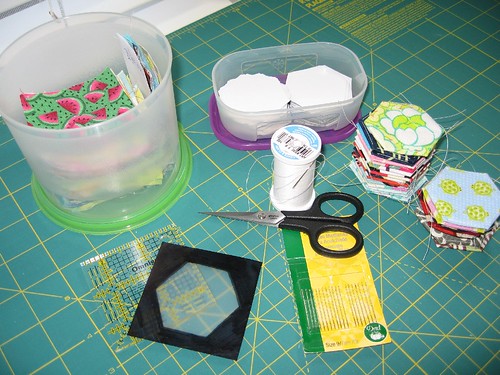
I then proceeded to do oodles of research to decide how exactly I would tackle this behemoth of a project. I immediately referred to my friend Kaelin's Double Wedding Ring quilt along for help and forged ahead. The pattern she follows uses foundation paper piecing to make the arcs, thereby making the process faster and simpler. It took me about 20 hours just to piece the arcs, and I stopped counting after that. It's made up of 98 arcs and measures in at 54" x 68". It was a total of about 5 months from start to finish. 

Double Wedding Ring Quilt


Double Wedding Ring Quilt
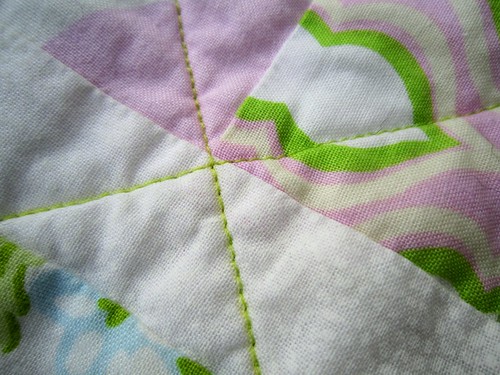
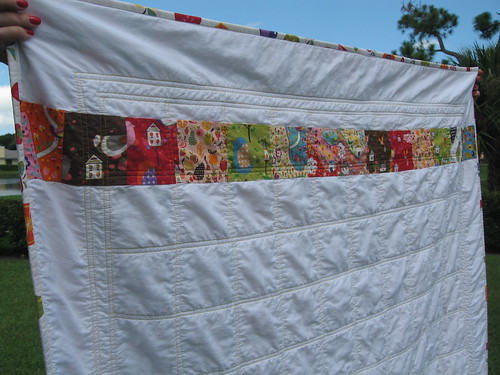
I took a class at my local quilt shop to learn how to use their longarm machine. I used a very light scrollwork pattern to allow the colors and piecing to stand on their own. Binding the rounded arcs and concave points was a royal pain in the you know what, but I fudged my way through it and finished it off. 

Double Wedding Ring Quilt

Double Wedding Ring Quilt
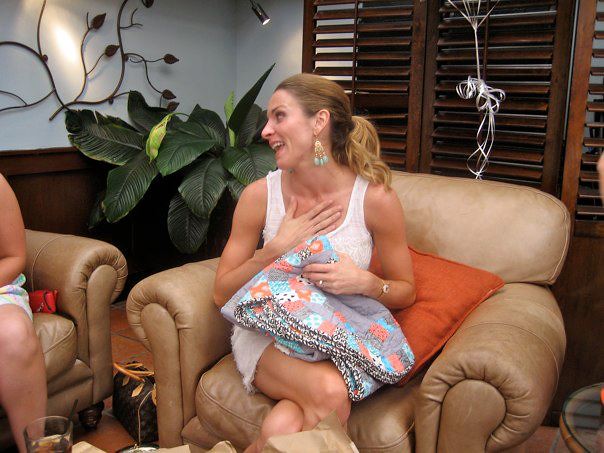
I aim for tears when I give gifts, and I'd say I succeeded here. :)
The cute part is that although she's not a sewist herself, she totally gets it. I've since been informed that this quilt is too nice and too special to use. Instead, it will hang on the wall of the future nursery. Nothing could make me happier.

Double Wedding Ring Quilt
The moment for which I waited many long hours and months. She loved it even more than I could have even hoped. My Jill, my lady, it was a true labor of love I would not make for anyone else. Much love!

Blogger's Quilt Festival Stats
Finished Quilt Measures: 54" x 68"
Special Techniques Used: Foundation Paper Piecing, curved piecing
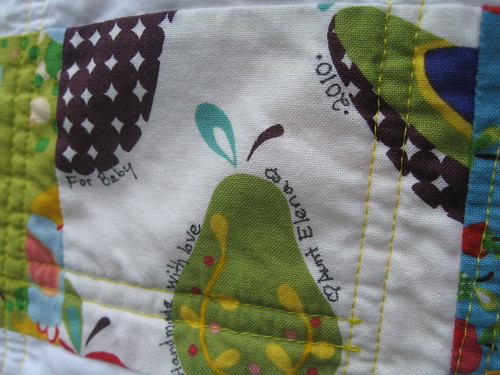
Quilted by: myself, Elena Roscoe
Best Category: Favorite Throw Quilt, Favorite Quilt Photographer, Favorite Wall Hanging


Amy's Creative Side

Whirlygiggle Quilt :: Complete!

33:365
I'm so pleased with how this Whirlygiggle quilt ended up turning out. It's so light, bright, and cheery and it just makes me smile. What really makes me smile about it is that it's actually my first full size quilt! Up until now I've only made a couple of baby quilts, so this was a really big deal for me.

Whirlygiggle Quilt: Complete
Overall, it probably ended up taking me about 2 months to make. I know some could do this in a hard core weekend, but I've got so many other things going on, between my full-time job, my part-time business, and you know, spending quality time with my husband and all, I make time for my sewing.

What's funny about it is that I only ended up making half the amount of blocks necessary and didn't realize it until I laid it all out! I was like, hmm, this looks a bit small. Talk about a bubble burst! Here I thought all the hard work was over and I ended up having to go back and cut, sew, trim, and sew some more. Ay ay ay!

Whirlygiggle Quilt: Complete
The original inspiration came from Camille, as this is her Whirlygig pattern. I was completely overcome with joy when I saw the colors and found it so visually appealling. It's also what sparked my love, ok obsession, with the Nicey Jane collection. I'm pretty sure that I bought a fat quarter bundle of it to make this quilt, and as we quilters do, fell in love with it during the creative process and ended up buying an additional half-yard bundle!!! Thank goodness for Randi at Fresh Squeezed Fabrics and her amazing sales and outstanding service!

Whirlygiggle Quilt: Complete
Besides being so pleased with the outcome of the quilt itself, I'm so happy to have realized I could finally take one of those fabulous pictures of it, like other quilters do. Now, I don't have any cool barns or fences nearby, but I figured the railing at the beach would do. The secret is that my best girl Raygan is squatting behind it, making sure it doesn't flop over the front or fly away on this windy day. Thanks Ray-Ray!

I'm very excited to be entering it in the Gen X Quilters Love Nest Quilt Contest! I always see these great contests with these inspiring and outstanding quilts and never had one of my own to enter. Now I do, wahoo!
And I'm even more pleased to be doing my 3rd Blogger's Quilt Festival and showing my 3rd (and only) completed quilt that I love. I've got 3 other tops sitting here staring at me, so even more quilts to come!


Amy'sCreativeSide

Gen X Quilters

Tuesday

Postage Stamp Quilt Along :: Top Finished!

Postage Stamp Quilt Along - top

Here's my completed quilt top! (Finally!!)
This is just a few months behind from the Postage Stamp Quilt Along over on PS I Quilt. I let it sit for a while and finally powered through it the last couple of weekends.

Now I'm stuck! What should I do for the backing? I was thinking a solid piece from the Weekends collection, but those are pretty busy prints. Also, the binding....maybe a solid purple to frame out the stamps?

What do you think? Backing? Binding?

Monday

Warm Cool Quilt Along :: Color Stacks


I'm so excited to be joining in with Jeni on her Warm Cool Quilt Along. Seeing as I'm still finishing up my blocks from the Postage Stamp Quilt Along I did in January, I seriously need to buckle down and follow along this time....it IS a "quilt along" after all.

Warm Cool Quilt Along stack
Here are my stacks. I've got warm on the left and cool on the right. I need 22 of each. This is definitely a first pass, and I'll be giving it another look tomorrow. I think it could use some editing. Is it just me and my stash, or is there a lack of purple in the world?

So, what do you think? Any ideas/suggestions for my stacks? More or less of a certain color?

Friday

Blogger's Quilt Festival :: My First Quilt

If you're here from Blogger's Quilt Festival, welcome! Thanks for stopping by!

This is my very first quilt, completed a little over a year ago. On a whim, I decided to take a beginner's quilt class at my LQS, and conned a friend into joining me. When I saw one of the sample quilts for another class at orientation, I just knew I had to make something from that same fabric....it was Nicey Jane by Heather Bailey and I was instantly head over heels!

My First Quilt
I went back to the store on a quieter day to pick out my fabrics. I knew it was Nicey Jane, and if you know me at all, it had to be pink. I auditioned a number of prints, using the teacher's tip of lining up the spines of the bolts together to see how they'd come together as the rails on the rail fence design. I settled on a combination, but had to break up all the color. It took a lot of convincing, but I went with this patterned cream color they had in the shop.

I can't tell you how thrilled I was when it was finally pieced together and I saw it all laid out. I did a major clappy-clap happy dance, along with a little jumping up and down.

My First Quilt - back
This is one of my favorite prints from the whole line. So pink, pretty and girly. Totally me.

My First Quilt - quilting
This is the minor tragedy of it all...the yellow Chaco liner never washed out completely, so there it is, looming under my lime green thread. I was upset at first, but have gotten over it.
Any suggestions for colored markers that wash out? Or should I just stick with painter's tape?

Monday

Postage Stamp Quilt Along: Strip Sets {One Thing, One Week Challenge}

Postage Stamp Quilt Along: Strip Sets

Well I'm running about a week behind on this quilt-along, so I decided to sign it up for Amy's One Thing, One Week Challenge. Success! Accountability to others sure gets me moving, thanks Amy!

I put together 16 5-piece strip sets and I'm really happy with how they turned out. I used a Weekends jelly roll combined with solid white strips cut from a bolt of bamboo cotton I have. The big problem was the zig-zag pinked edges of the jelly roll strips! I wasn't sure how to line them up well with the solid edges of the other strips. After several days of delay, I decided to throw caution (and, let's face it, my typically anal behavior) to the wind and just go ahead. I stitched them all up and ironed this weekend.

How do you usually sew with pinked edges???

Friday

Bloggers Quilt Festival :: Willow Baby Quilt :: { Finished! }

It's finally done! Well, technically it was done almost 2 months ago, but let's not get bogged down with semantics.

I made this quilt for my sister-in-law, Katie, who was having her first baby, a boy...now named Simon. I sent her over to Hawthorne Threads and she made me a long list of her favorite fabrics. Willow by Alexander Henry was on there, so I ordered a fat quarter bundle to simplify things. Then I popped over to All People Quilt and looked up some patterns. I ended up settling on the Fresh 4 Patch Table Topper. The quilt ends up at about 50" square, which is a great size for his crib or just hanging around the house. I'm really pleased with how it turned out and so was mom.

526
Here it is! A big thanks to my mom and her weary arms for holding this up while I played photographer.

528


529
Close up! That upper left square is just my favorite in the entire thing! It's like a little path leading into the quilt, inviting you into a cute little cottage.

530


532
My first pieced backing! I've made a couple of smaller baby quilts before, so this was my first time having to create a larger backing. I thought it would be fun to include a sampling of prints from the front.
You can also see all the straight-line quilting really well here. I outlined each square and border with 1/4" seams on either side. It's the most detailed quilting I've done and took a few hours, but it was worth it.

534
I love how this strip turned out!

536
I got one of those fancy dancy fabric pens and made this my signature block. I've been very bad about not doing those, so this was a nice and easy way to do it. Now that we're sure about his name, I have to go back and fill it in.

542.2
Here's mom at the shower! She was so pleased and surprised by the fabric I chose and what I did with it. She said it will make the perfect crib blanket for him because she didn't like any other bedding she has seen. I won't lie, I always enjoy the whole "wait, no way, you made that?!" chatter that ensues after someone opens my handmade gifts. I'm surrounded by creatives, but absolutely none of them sew. The additional praise suits me just fine :)

Tuesday

Willow Quilt :: Major Progress!

Well my theory has been proven correct, once again. When I'm held accountable to others, I'm really quite productive! Amy over at Amy's Creative Side is at it again with her awesome One Thing, One Week Challenge. I signed up and listed the one thing I wanted to get done within my one week; my sister-in-law's baby quilt. Her super cute (I'm figuring he will be) little boo-boo is due in October, and her shower is in less than 2 weeks. (I'm super confident she doesn't read the blog, so I'm safe to post pics.)

Katie's quilt (3)
I had cut the pieces out last week. I'm using a great fat quarter pattern from All People Quilt. I ordered a fat quarter bundle from my peeps over at Hawthorne Threads and it was the perfect number, with 13 fat quarters, plus some yardage for borders and binding. It's really a great pattern that has come together quite quickly.

Katie's quilt (4)
Here came the hard part: designing the layout! Since it was such a colorful collection, it was a challenge laying it all out. My rules were that each 4-patch block would have 2 large and 2 small scale prints, no 2 colors would touch, and no 2 identical prints would touch. I think that really helped me put together a great design where all the prints and colors are spread out well and are balanced.

I laid it all out on a piece of batting and brought it downstairs so I could design while watching an American Pickers marathon with the hubs. He pretended to help by saying ooh and ahh when asked about my progress.

Katie's quilt (16)
Done!!! It came together really well, and I was able to get it all together on Sunday. I'm really happy with how it came out.

Katie's quilt (18)
Here's the obligatory macro shot! Love that macro button! :)

Katie's quilt (20)
My fave little block in the whole quilt. I really adore this section of this print.

Katie's quilt (22)
Right side up! Walk down the little path, into the little house, look at the little flowers....

Katie's quilt (27)
I had to wait for the hubs to get home to get a shot of it standing up...those are his super toned legs. :) That little munchkin sure is going to have lots to look at when he's having tummy time on this beauty!

Now this week I'm onto basting and quilting. I'm thinking straight-line quilting, on either side of each seam. I've been wanting to try straight-line, plus that way I have less marking to do. :)

How was your week? Did you meet your goals?

Sunday

Whirlygiggle Quilt :: Started!

Thanks to Amy over on Amy's Creative Side and her One Thing One Week Challenge, I got the motivation I needed to finally get started on my Whirlygiggle quilt! The Challenge instilled a sort of "homework" attitude in me, so when I woke up on Sunday morning, I knew I had a deadline I had to meet. Otherwise, I probably would have kept browsing the movies On Demand.

Wonky Pinwheel Quilt
This is my stack of pieces I cut out way back in March when I was originally inspired to make this quilt. These have sat very lonely in my "in progress" drawer since then.

Wonky Pinwheel Quilt (1)
And here is the first one I laid out after I had cut all the pieces, as I was so excited I couldn't wait to see how they'd look. How I went from excited to waiting 4 months to start I'll never know.

Wonky Pinwheel Quilt (3)
My first sewn stack! It was lots of sew, open, press. Repeat. As apparently quilting tends to be.

Wonky Pinwheel Quilt (8)
My first stack pressed open! This is when I can honestly say I knew I wouldn't be able to stop, and powered through the rest of the afternoon.

Wonky Pinwheel Quilt (14)
Pretty pile of scraps from the first trim.

Wonky Pinwheel Quilt (21)
Itty bitty, teeny weeny scraps from the second trim.

Wonky Pinwheel Quilt (22)
Fun! A little chain-pieced garland! I suddenly see why those little bunting garlands are so popular.

Wonky Pinwheel Quilt (32)
This is when I get artsy and start using the macro feature on my camera.

Wonky Pinwheel Quilt (29)
My blocks are all DONE!!! I'm so excited, I can't believe I actually made it this far in just one afternoon! Funny thing: I went back to our bedroom and announced to my hubs that my squares were all done....he said, "ok, that's nice. What does that mean?" So cute.

All in all, I can honestly say that were it not for this challenge, I really don't know how long these pieces would have sat in a drawer. I'm so pleased with how much I was able to get done and with how well it all turned out. I met my goal for the week and already know my new goal for this week: finish piecing this quilt top! Woohoo for productive weekends!!!

What did you get done this weekend? Lots? Nothing, but relaxed? Share! :)

Wednesday

I think I'm sick...with Hexagon fever!

It's official...I've caught hexagon fever! It is darn contagious!

After just a couple of minutes on Melanie's blog, Texas Freckles, I was hooked! She makes it seem so simple, that the daunting task of creating 1200 of these little guys somehow goes into denial.

My first stack!
So I quickly put together a little kit and churned out 22 of the little guys yesterday. Here they are, in all their macro shot, stacked up glory. Ah, so pretty.

My first stack!
Ooh, a shot using depth of field! These hexies are fancy! lol

Hexagon Kit
Here's my little kit. Can you tell I used to sell Tupperware?!
I cut up all of my stash, and even created my own charm packs to cut and swap...all before I even made 1 little hex!
While I know this is a stashbusting project, I may or may not have ordered half a dozen charm packs just so I would have something to swap with the girls on Flickr. I like joining in!

I have 26 as of today...where is your hexie count?